Fort the Filling:
·
1
cup of sugar
·
2
cups of water
·
6
tablespoons of cornstarch
·
2
tablespoons of butter
·
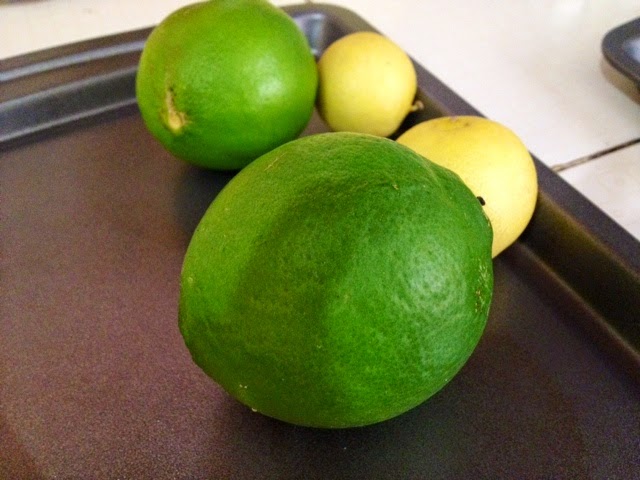
6
tablespoons of lemon juice
·
1
teaspoon of lemon zest
·
3
egg yolks
·
Salt
Fort the
Crust:
·
2
cups of flour
·
2
tablespoons of butter
·
2
tablespoons of shortening (Crisco)
·
1
tablespoon of sugar
·
5
or 6 tablespoons of cold water
·
¼
teaspoon of salt
For the
Meringue:
·
3
egg whites
·
6
tablespoons of sugar
·
¼
teaspoon of cream of tartar
·
¼
teaspoon lemon juice
Instructions:
1. In a sauce pan, bring water, sugar,
salt, and butter on medium heat
2. in another bowl, mix the corn starch
with ¼ cup of water, then add the egg yolks and beat together
3. Once the water comes to a boil, add
the lemon juice
4. Slowly, add in the egg yolk and corn
starch mixture
5. Mix rapidly until it is well cooked
6. Remove from heat and add the lemon
zest. Let cool.
7. In a bowl, bring together the
shortening and the flour and mix together softly with your hands
8. Next add the butter, which has to be
hard and chopped
9. Then add the water, salt, and sugar
and mix well with your hands
10. Let the dough rest for 20 minutes in
the refrigerator
11. After 20 minutes, roll out the dough
and place it on a pyrex (you don’t have to grease it before hand)
12. Brush some water on the dough to
avoid shrinking and let it rest for 20 more minutes in the refrigerator.
13. Then, bake the cookie in a 350
degree oven for approximately 25 minutes
14. Let the cookie cool before adding
the filling
15. Prepare the meringue, firstly beat
together the egg whites

16. Add in the sugar, cream of tartar,
and lemon juice and keep beating until the desired consistency is reached
17. Once the cookie is cooled, add the
meringue, the frosting, and bake in the oven for 5 more minutes just so that
the meringue can turn slightly brown
18. Garnish as desired and serve
preferably
cold